March 4 - June 9, 2001
Building a Rib Jig and Wing Ribs
When I visited the factory I picked up a box of parts
and straight aluminum angle stock, along with some drawings. The
first thing I needed to do was make a jig for the ribs.
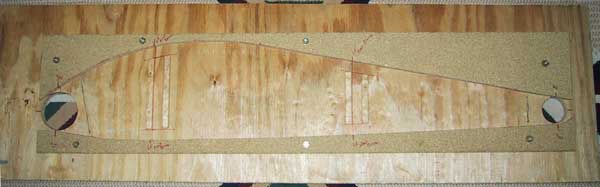 Here's what I came up with. The holes are just big
enough to fit a couple of short pieces of spar tubing. There are
slots for the bottom angle of the rib "widgets" to fit
into so they lie flat on the wood. And there are guides for the
rib cross-pieces.
Here's what I came up with. The holes are just big
enough to fit a couple of short pieces of spar tubing. There are
slots for the bottom angle of the rib "widgets" to fit
into so they lie flat on the wood. And there are guides for the
rib cross-pieces.
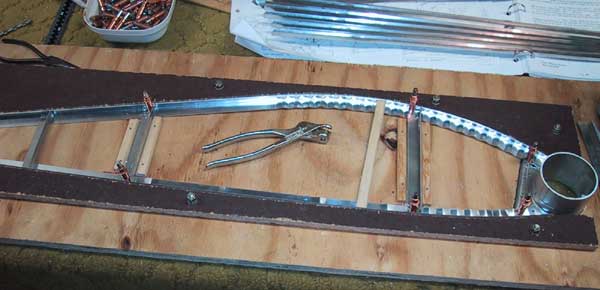
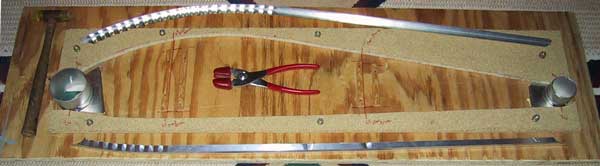 This shows the spar tubing and widgets in place, along
with bent upper and lower rib pieces, and the fluting tool used
to make the bends.
This shows the spar tubing and widgets in place, along
with bent upper and lower rib pieces, and the fluting tool used
to make the bends.
 Here's the other side of the jig, a mirror image for
making ribs for the opposite wing. Chuck says it isn't necessary
to make the ribs different for each wing, but it was easy enough
to flip everything over.
Here's the other side of the jig, a mirror image for
making ribs for the opposite wing. Chuck says it isn't necessary
to make the ribs different for each wing, but it was easy enough
to flip everything over.
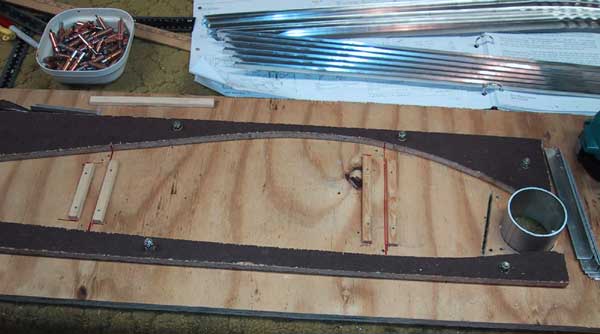
 Loading the jig with the widgets and upper and lower
ribs. A piece of wood wedges things in tightly.
Loading the jig with the widgets and upper and lower
ribs. A piece of wood wedges things in tightly.
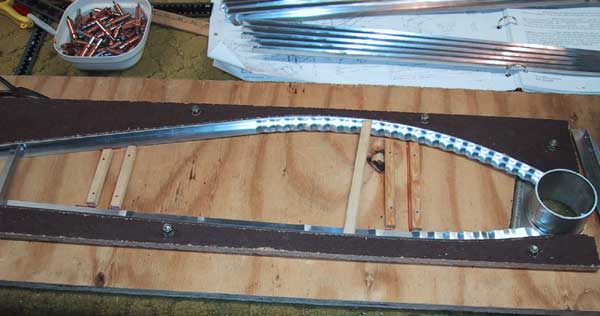
 Cross-pieces drilled and clecoed in place.
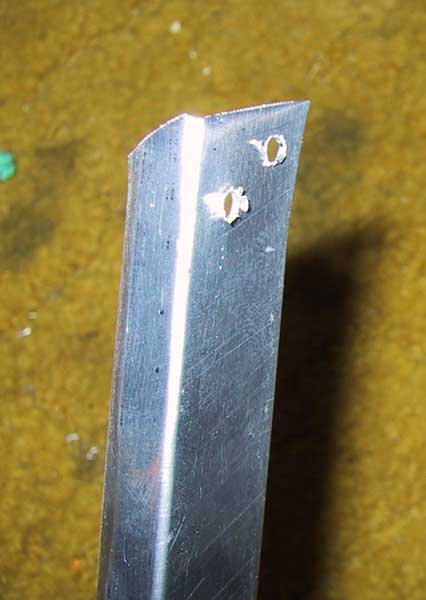 The holes come out pretty rough...
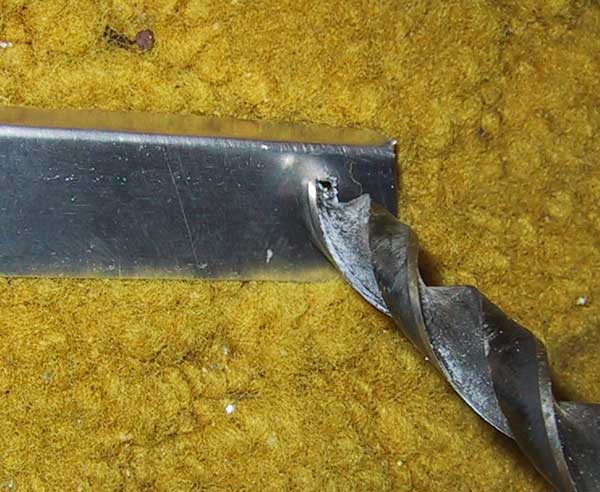 ...so I used a large drill bit to debur them.
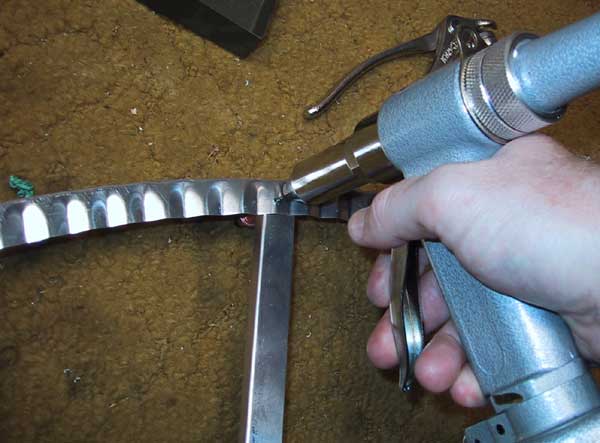 Riveting the cross-pieces and widgets into place.
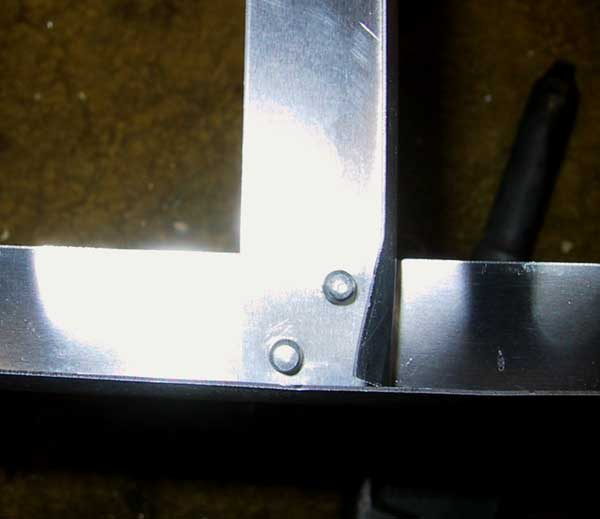 A cross-piece riveted in place. The raised edge is
bent back so it doesn't snag on the cloth (or my hand...)
A cross-piece riveted in place. The raised edge is
bent back so it doesn't snag on the cloth (or my hand...)
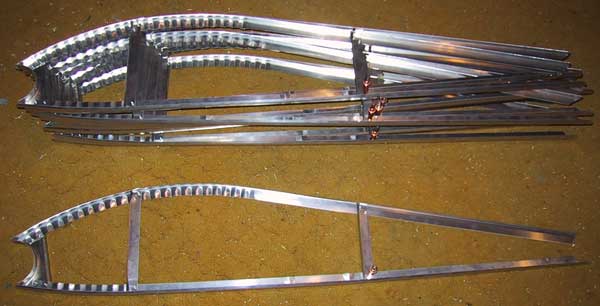 A bunch of nearly finished ribs. The rear widgets aren't
riveted on yet, and the lower rear cross-piece is clecoed in place
until the ribs are attached to the wing frames, to allow them
to fit around the drag and antidrag struts.
A bunch of nearly finished ribs. The rear widgets aren't
riveted on yet, and the lower rear cross-piece is clecoed in place
until the ribs are attached to the wing frames, to allow them
to fit around the drag and antidrag struts.


