June 25-28, 2001
The Cabin Area
 Much time was spent taking measurements and tweaking
things to make sure everything was square. I also took some time
out to paint the non-anodized aluminum and the steel pieces-parts.
Much time was spent taking measurements and tweaking
things to make sure everything was square. I also took some time
out to paint the non-anodized aluminum and the steel pieces-parts.
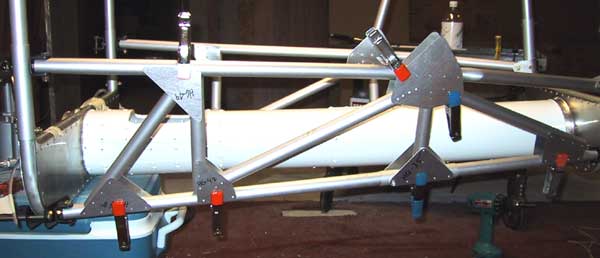
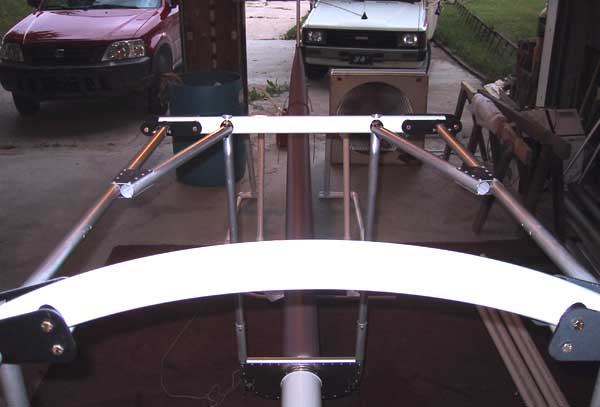 The top of the cabin area with the diagonals riveted
in.
The top of the cabin area with the diagonals riveted
in.
 The rear cabin girders in place.
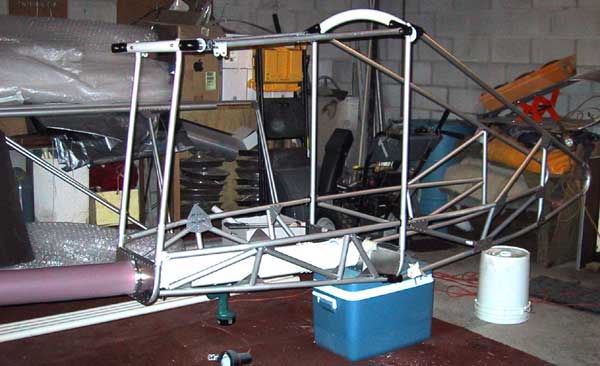 Even though the instructions don't say to do it yet,
I couldn't resist hanging the nose in place temporarily.
Even though the instructions don't say to do it yet,
I couldn't resist hanging the nose in place temporarily.
Uh-oh. It's starting to look like an airplane!
I of course had to sit inside and make the obligatory
airplane sounds. PTHTHTHTHTHTHTHTHTHTH!!
 After I shot down that crafty Red Baron, I took the
nose back off and got back to work. This shows the left girder
in place before the outside gusset installation.
After I shot down that crafty Red Baron, I took the
nose back off and got back to work. This shows the left girder
in place before the outside gusset installation.
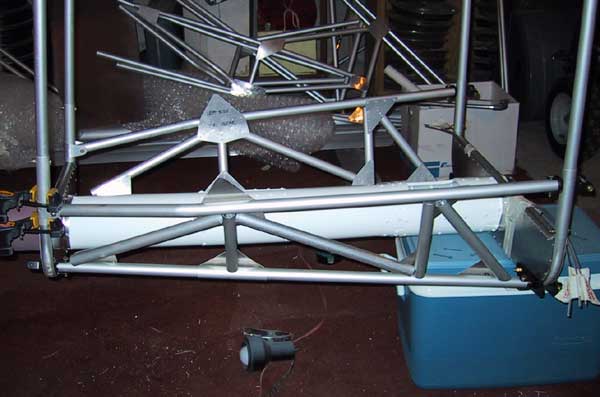
 Here the gussets are clamped in their approximate positions.
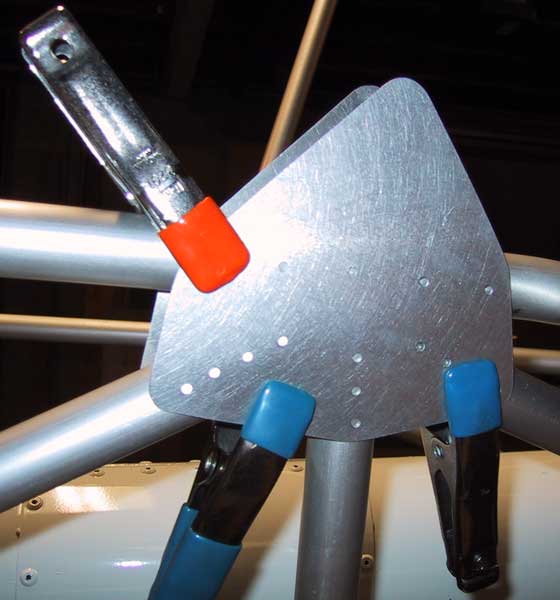 The gussets are carefully aligned so the predrilled
holes fall onto the center of the girder tubes.
The gussets are carefully aligned so the predrilled
holes fall onto the center of the girder tubes.
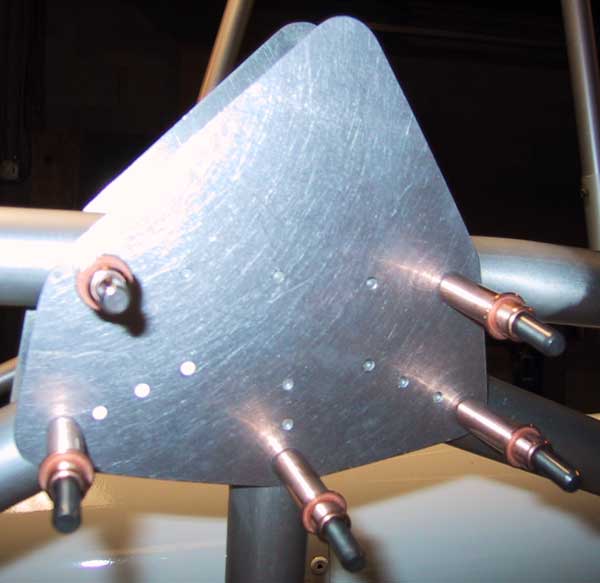 The first holes are drilled in each one of the tubes
and the gusset is clecoed in place. The clamps are removed.
The first holes are drilled in each one of the tubes
and the gusset is clecoed in place. The clamps are removed.
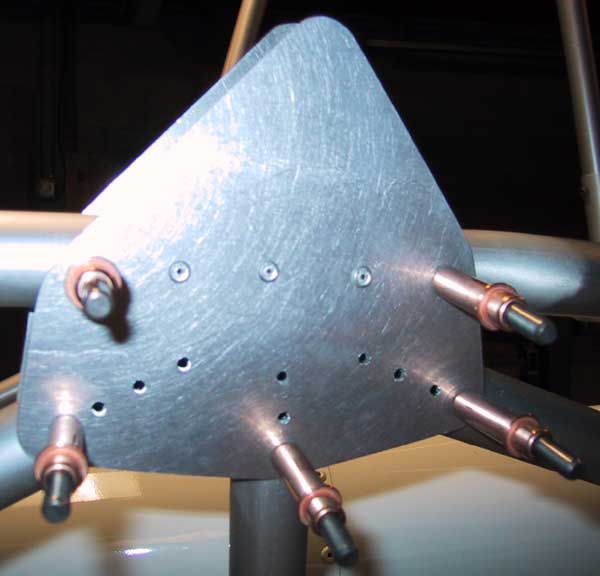 The rest of the holes are drilled
and the first couple of rivets are in place.
The rest of the holes are drilled
and the first couple of rivets are in place.
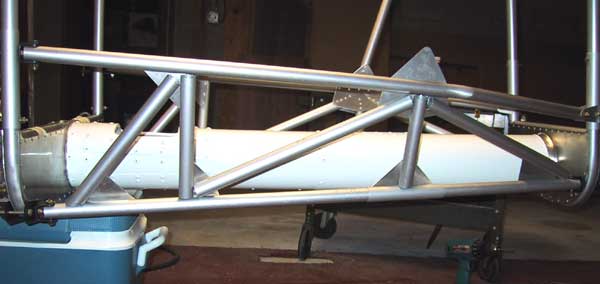
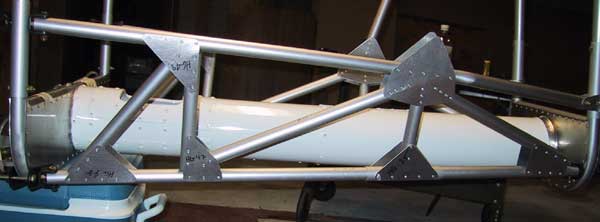 And here's the finished structure.
That's 57 holes and 57 rivets, but who's counting?
And here's the finished structure.
That's 57 holes and 57 rivets, but who's counting?


